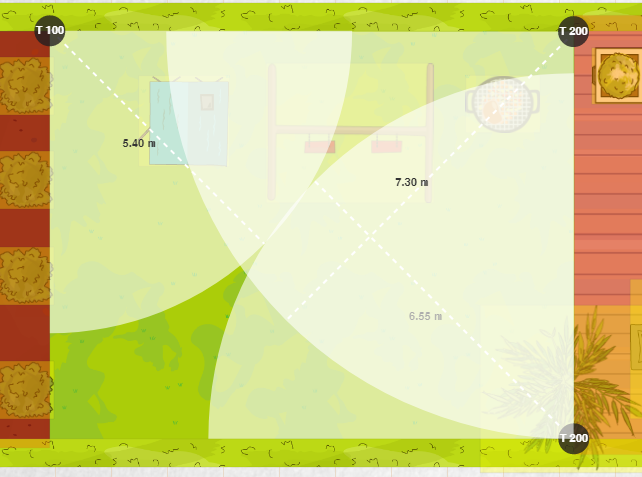
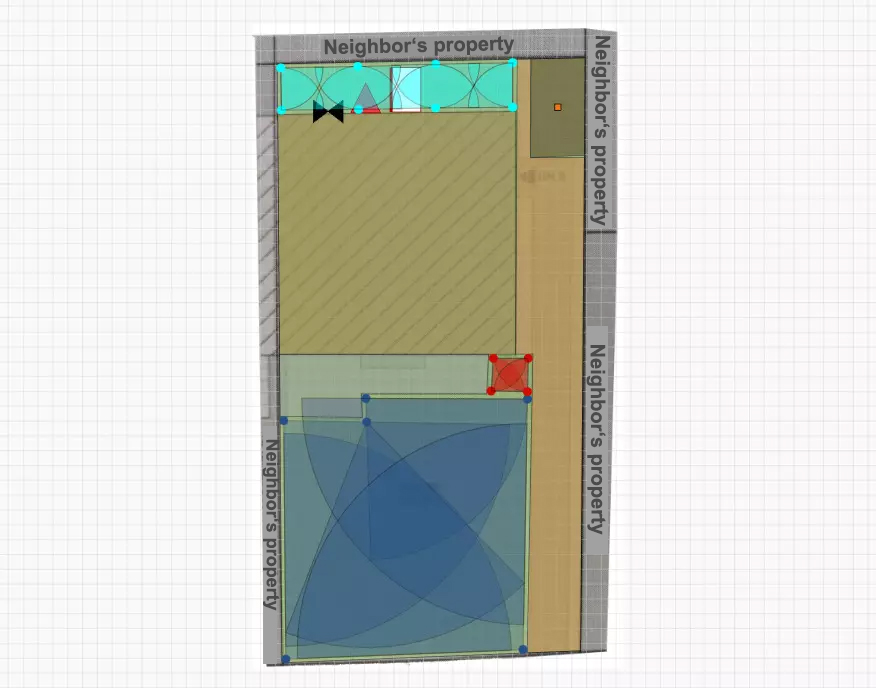
For many years, the only free online irrigation planning tool available was the myGarden planner from Gardena, but a few years ago the very advanced DVS irrigation planner and the Orbit irrigation planner were added. All three are primarily aimed at garden owners or commercial users who want to irrigate lawns or flowerbeds and are very popular. I had not previously known of any free irrigation planners for agricultural purposes. With the Netspex sprinkler system designer, I have now come across a planning tool specifically for farmers. I looked at how it works and what it can do.
First of all: The Netspex Sprinkler System Designer does not plan a complete irrigation system like the other three tools, i.e. it does not make a complete proposal from sprinklers to pipelines to irrigation computers, but rather focuses entirely on the topic of sprinklers. This includes selecting the right sprinkler and the optimal, water-saving placement of the sprinkler on the agricultural area.
The tool is free; to use it, you need to register once, which, according to the information on the website, is processed within a maximum of 48 hours. In my test, it only took about 10 minutes and I received the access data by email. This gives you full access to the planning tool; beforehand you can optionally try out the functionality in a (functionally limited) demo version.
When you start the planning tool, you can select the desired language and the desired unit of measurement system.
You can start planning in two different ways:
- By selecting the sprinkler
- By selecting the desired application
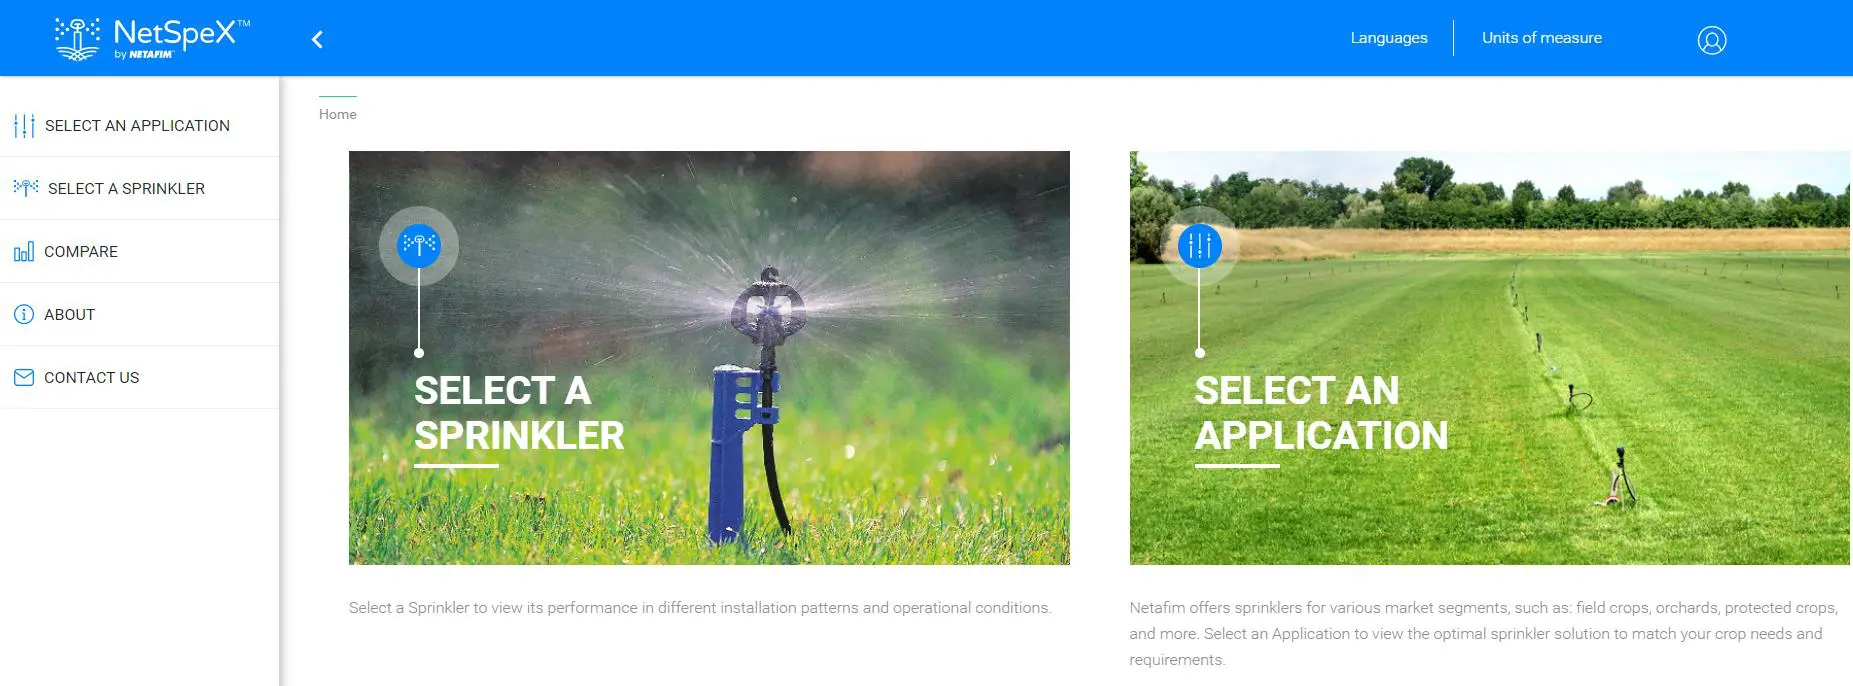
Selection of the starting point
If you select “Select a sprinkler”, you skip the selection of the desired application. This is recommended if you already have a specific idea of the sprinkler you need. If you don’t have one, then it seems better to start with the menu item “Select an application”. Here the planner first asks you what application you are planning and this then limits the selection of sprinklers available in the next step to those that are suitable for that purpose.
However, in my test of the tool, it turned out that the further systematic planning when selecting this menu item is probably not suitable for most users, see my comment below. Therefore, it makes the most sense to use the menu item “Select a sprinkler” or perhaps a mix of both methods: So first – if you are still unsure – use the menu item “Select an application” to find out which sprinklers are suitable for the intended application, but then start again from the beginning with the menu item “Select a sprinkler”, as this enables better further planning. I will then present both methods so that it becomes clear what the differences are:
Planning with starting point selection of a sprinkler
Here you can first select the desired sprinkler family and within this the desired sprinkler model from the entire range of Netafin impulse sprinklers and micro irrigation sprayers. The range of water flow and working pressure for each sprinkler family is given. Unfortunately, this data is not given in detail for the models available for selection within the family, but it is usually clear from the model name.
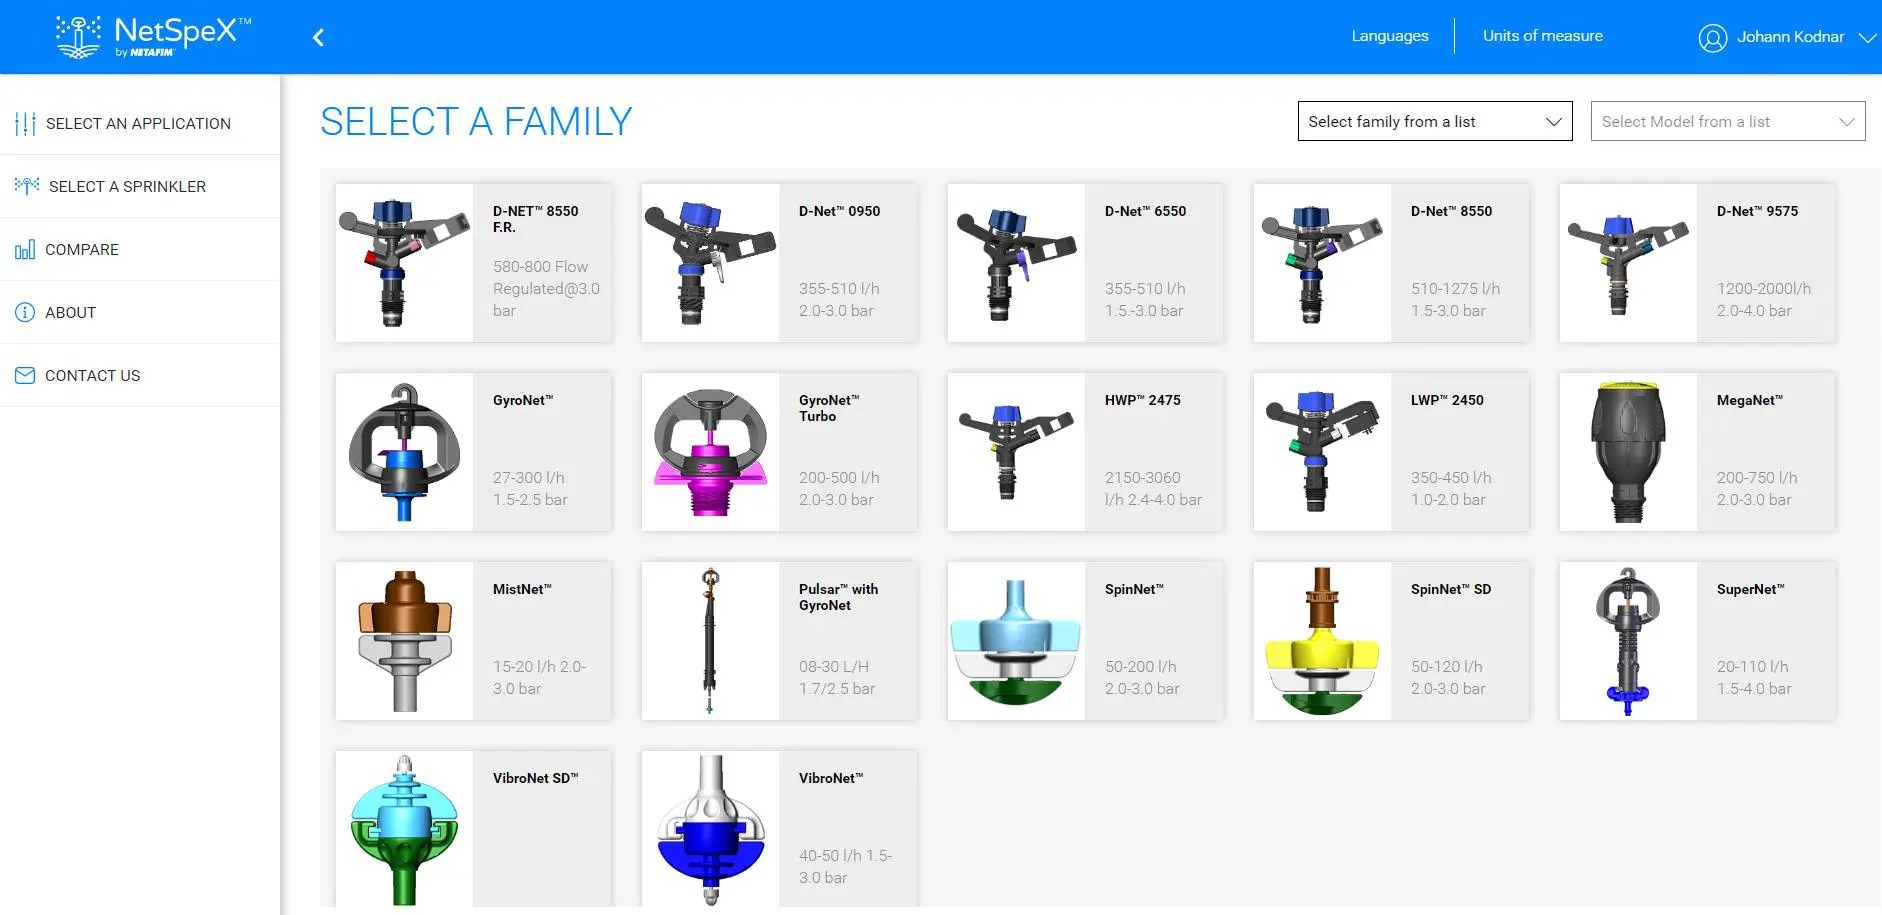
Selecting a Sprinkler Family
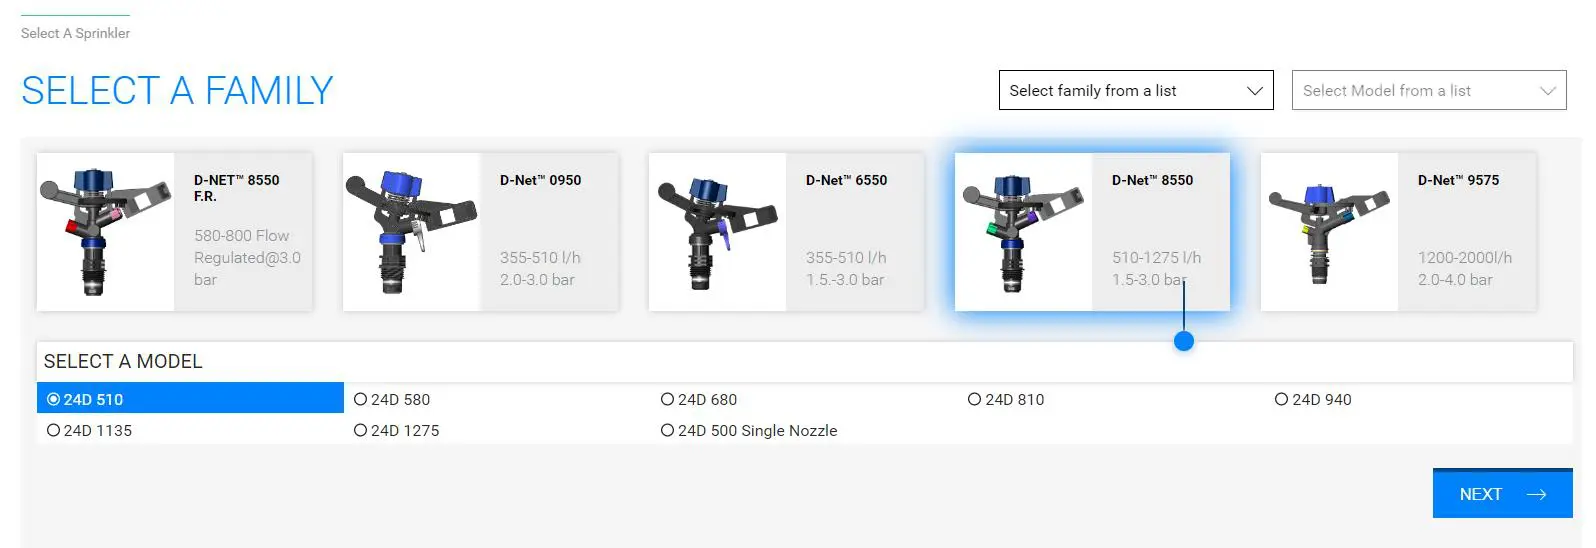
And then select the specific sprinkler model
If you are still unsure about which sprinkler model to choose, it is better to first take a detour to the “Compare” menu item, where you can select several sprinklers and compare their performance data.
Placement of the sprinklers
Based on the selected sprinkler model, the specific positioning of the sprinklers on the area to be irrigated is now planned. To do this, you first need to determine the pattern in which the sprinklers should be placed. The two most commonly used systems are the rectangular pattern, in which 4 sprinklers are placed so that they enclose a square area, and the triangular pattern, in which three sprinklers form a triangle. There are also four other systems to choose from.

The next step is to make the basic decision as to whether the sprinklers should be placed on the ground or hanging from above. Then you have to specify how high above the ground the sprinkler should be and what flow rate and working pressure it should work with. Since I have already selected a specific sprinkler model that can only be used standing on the ground, in my case only this selection is possible from the start and only one selection is possible for the height, flow rate and working pressure. In this sense, it is a bit misleading that you still have to make a selection here (limited to one option), the system could actually predefine this.
Now you still have to define how far apart the sprinklers should be from each other. The distance between the sprinklers in a pipeline string is specified under “distance between heads”, and the distance from one pipeline string to the next is specified under “distance between laterals”. So basically the horizontal and vertical distances between the sprinklers. In the classic square formation, these distances would be the same and when planning lawn irrigation with circular sprinklers, you would plan with double overlap.
When using impulse sprinklers, which also irrigate much better in the immediate vicinity of the sprinkler, such a strong overlap is not mandatory. With the planner, you can easily find the optimal pattern for the intended purpose, which provides sufficient uniformity of irrigation while using sprinklers and water as economically as possible. The distances can be adjusted using sliders and the resulting pattern is immediately displayed in a preview image.
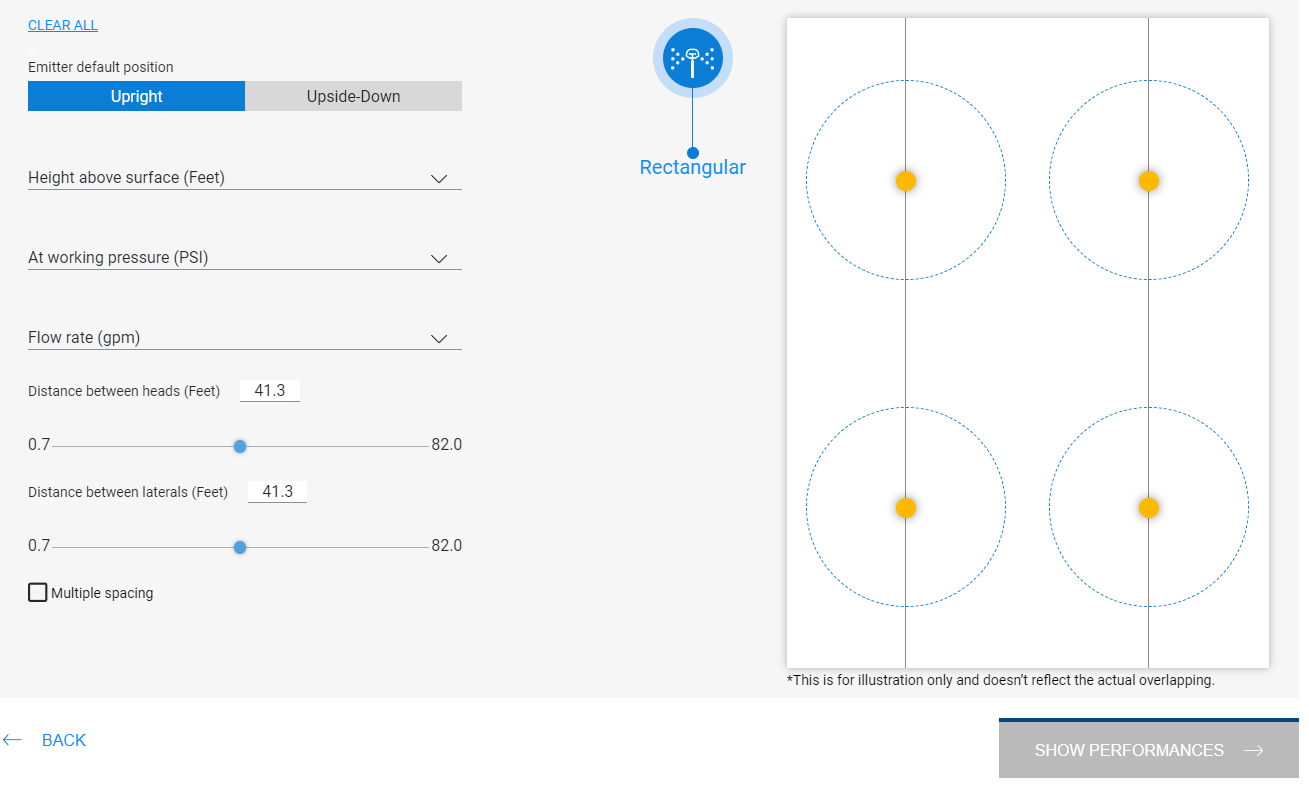
Planning the sprinkler spacing
And after clicking on the “Show Performances” button, you can then see what performance data this planning would lead to.
Performance indicators

Sprinkler Performance Data
On the one hand, the precipitation rate that would result from the planning is given here. And on the other hand, three performance indicators for the uniformity of irrigation are given:
- Christiansen Coefficient of Uniformity (CU): The least strict of the three methods.
- Distribution Uniformity (DU): Stricter than the previous method
- Scheduling Coefficient (SC): The strictest of the three methods
For all three indicators, the higher the value, the more uniform the irrigation. The values of the first two indicators can be between 0 and 100%, with 100% meaning completely uniform irrigation, i.e. that every spot on the area to be irrigated receives exactly the same amount of water. For the Scheduling Coefficient (SC), a value as close to 1 as possible is ideal. This indicator is a runtime multiplier that indicates the factor by which the irrigation runtime would have to be increased to ensure that even dry areas are sufficiently irrigated.
In addition, the uniformity of the irrigation is shown in a precipitation diagram, with the different shades of blue showing how evenly or unevenly the irrigation is. By changing the sprinkler distances, you can test how the individual key figures change and thus get even closer to the optimal placement of the sprinklers.
At the very bottom, another diagram shows how evenly the selected sprinkler distributes the water over its throw distance, i.e. how much water is distributed in the immediate vicinity of the sprinkler, how much is distributed after one foot, two feets, etc. etc. This information is very interesting, but would ideally have been displayed one step earlier in the sprinkler selection point, so that the original sprinkler selection could have already been based on it.
The key figures determined, including key data, can be output as a printable PDF by clicking on “Create PDF”.
Planning with starting point selection of the desired application
I will now describe the second option for using the online planner. Here you do not start with the sprinkler selection, but first determine the intended use.
Determining the intended use
You can choose between:
- Field crops and vegetables
- Orchards
- Protected crops
- Frost mitigation
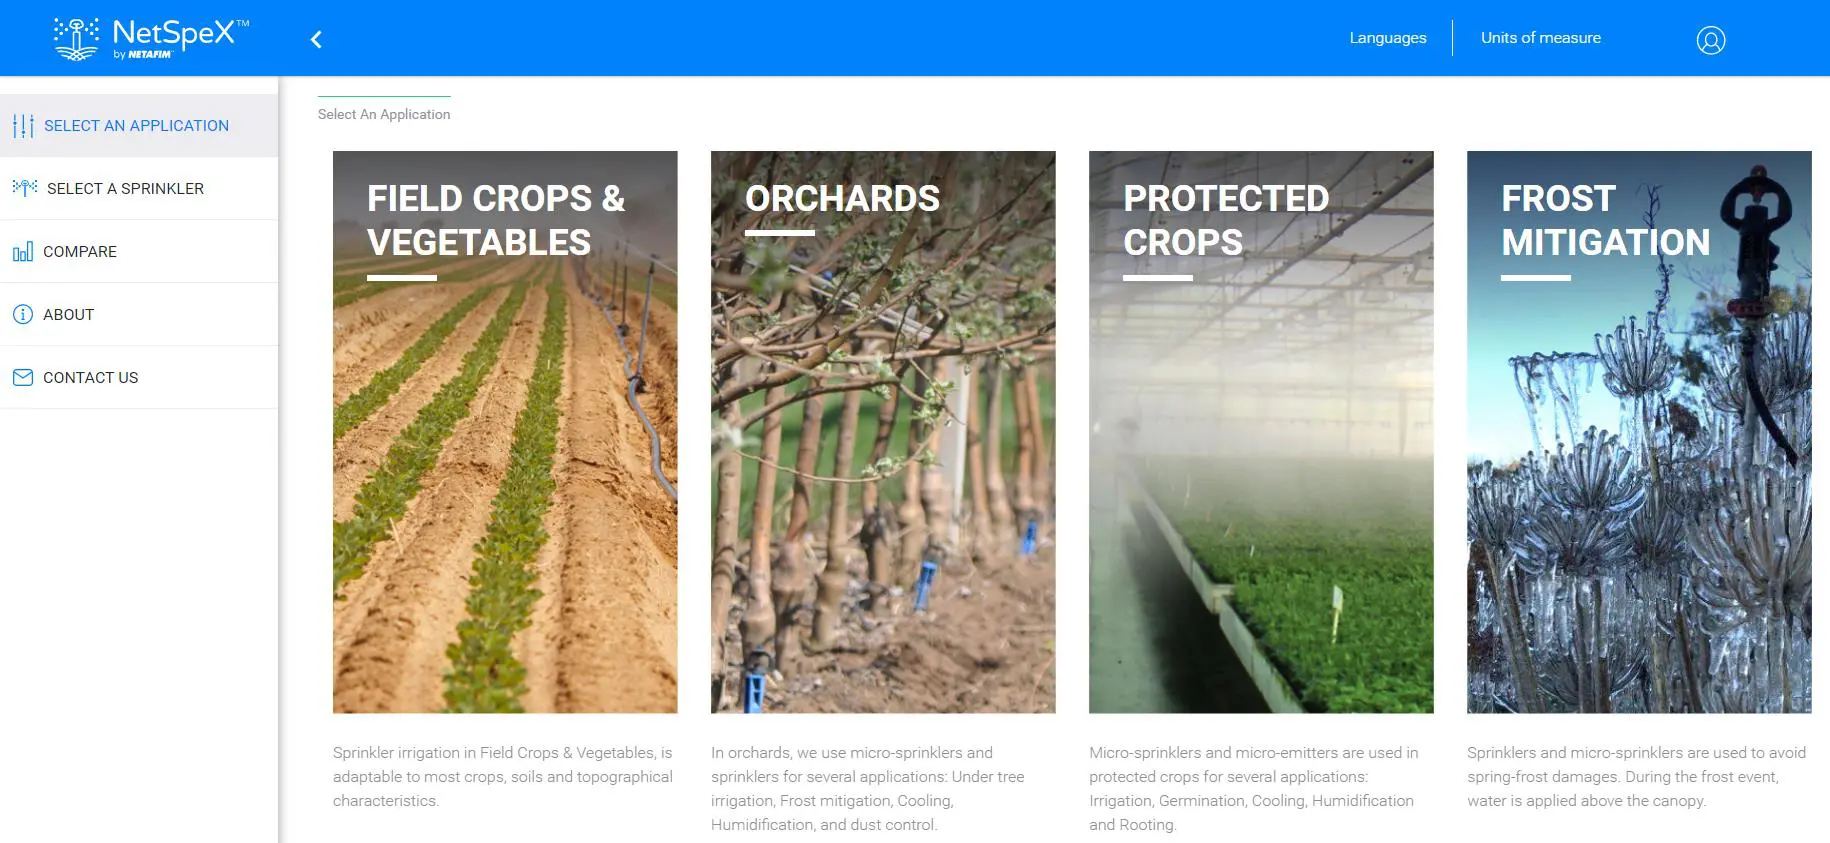
Specification of the intended use
In the menu items “Orchards” and “Protected crops” a further sub-selection can be made: In orchards you can choose between irrigation, frost protection, cooling and cleaning and in protected crops you can choose between full irrigation, bay irrigation, germination, rooting, humidification and cooling.
Placement of the sprinklers
Once you have selected the desired application, you must specify how you want to position the sprinklers. This information is identical to that of the previously presented method: selection of placement on the ground or from above, determination of the distance between the sprinklers, precipitation rate, desired working pressure and height of the sprinklers. The only irrigation patterns available here are rectangular pattern and triangular pattern.
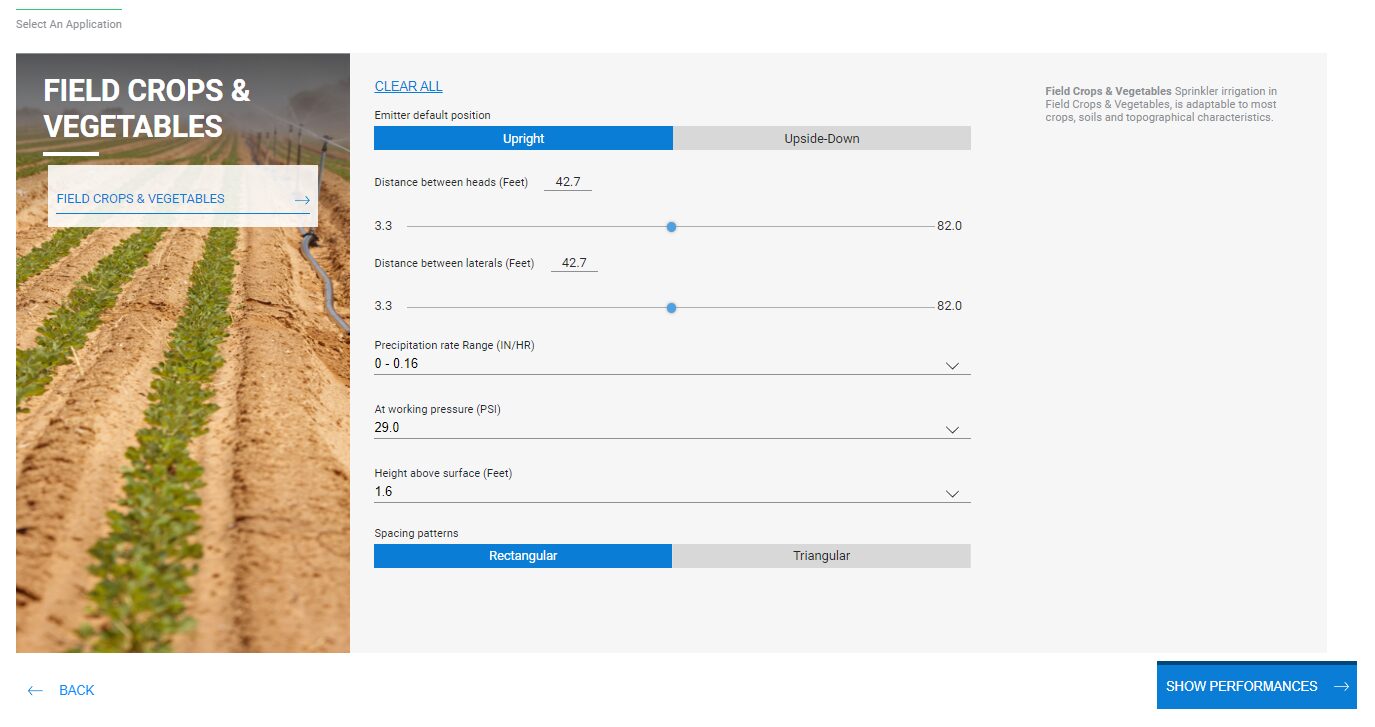
Sprinkler placement menu
My impression: This system seems a bit poorly thought out or strangely solved to me. Usually you determine these things based on the sprinkler you want to use, because it has to be able to meet the requirements. Doing it in the reverse order, i.e. first theoretically considering the sprinkler spacing, rainfall rate and water pressure and then looking for the sprinkler based on that, is on the one hand a rather difficult task and could also limit you completely unnecessarily because certain sprinklers that would have been considered might then not meet the requirements at all.
In my opinion, this approach would only really make sense if you already had a finished irrigation system with pipelines, specified sprinkler spacing, etc. in operation and wanted to replace the sprinklers with a new model. I would therefore recommend using the method presented in the previous step with the starting point “placement of the sprinklers”, which does not have this significant disadvantage. This method is only suitable, if at all, to get a basic idea of what type of sprinklers Netafim offers based on the intended application.
Sprinkler selection
Based on the information you provided previously, you will now be shown the Netafin sprinklers that meet these requirements and you can select the sprinkler you want.

Selecting the sprinkler from a selection based on the previously made entries
Performance metrics
This display is identical to the one described above at the starting point “Select a sprinkler” and shows the uniformity of the irrigation using three metrics and a precipitation graph, as well as the precipitation rate and the water distribution over the throw of the sprinkler. By changing the distance between the sprinklers, you can test the effect of different distances.
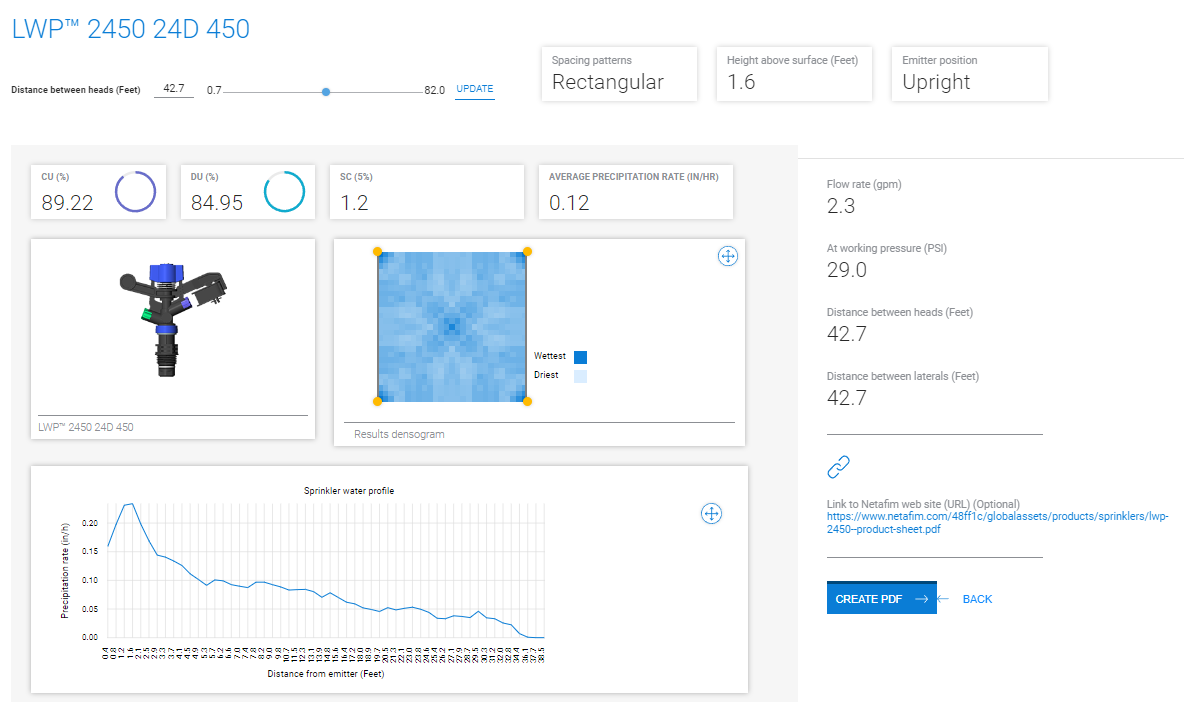
Display of performance indicators
Conclusion and recommendation
The strength of the Netspex sprinkler system designer lies primarily in the assistance it provides with the optimal placement of the sprinklers. You can easily try out different distances between the sprinklers with different sprinklers and observe how the uniformity of the irrigation develops as a result, or make conscious changes in order to approach a desired target of uniformity and precipitation rate. This is a good help with sprinkler positioning and is useful for checking previous considerations.
The disadvantage is that the sprinkler selection is limited to the Netafim product range. Using the planning tool makes sense especially if you want to use Netafim sprinklers or at least sprinklers that have very similar performance data. If you use other sprinklers, these can differ significantly in terms of throw distance and water distribution, so that the values in terms of uniformity of irrigation and precipitation rate would be completely different.
Another small drawback is that the order in which steps are carried out in the sprinkler system designer does not seem to be 100% well thought out in some situations, so that you sometimes have to make decisions that are difficult to make at this point. However, the problem can be circumvented with workarounds, so I don’t rate this deficit too highly. A little fine-tuning would do the program some good, though.
All in all, a very interesting online service that focuses primarily on testing sprinklers and their optimal positioning for the most economical use of water and therefore seems well suited to agricultural purposes.
Further link
Below is the link to the Netspex online planning tool:
As an alternative to the browser version, the Netspex Designer is also available as an app for Apple and Google.


