The water flow in a pipeline decreases in the opposite direction to the water pressure exerted on the pipeline. A water pressure and flow test gauge can be used to determine how large the water flow will be at a certain pressure acting on the side walls of the pipeline. This serves as the basis for determining the ideal pressure in the pipeline and thus the right sprinkler for the planned irrigation, with which the desired combination of throw and water flow is achieved. If, for example, a very high water pressure requirement is set for the sprinklers, the amount of water flowing through can be disadvantageously low. The following article explains how such a device works and how to operate it.
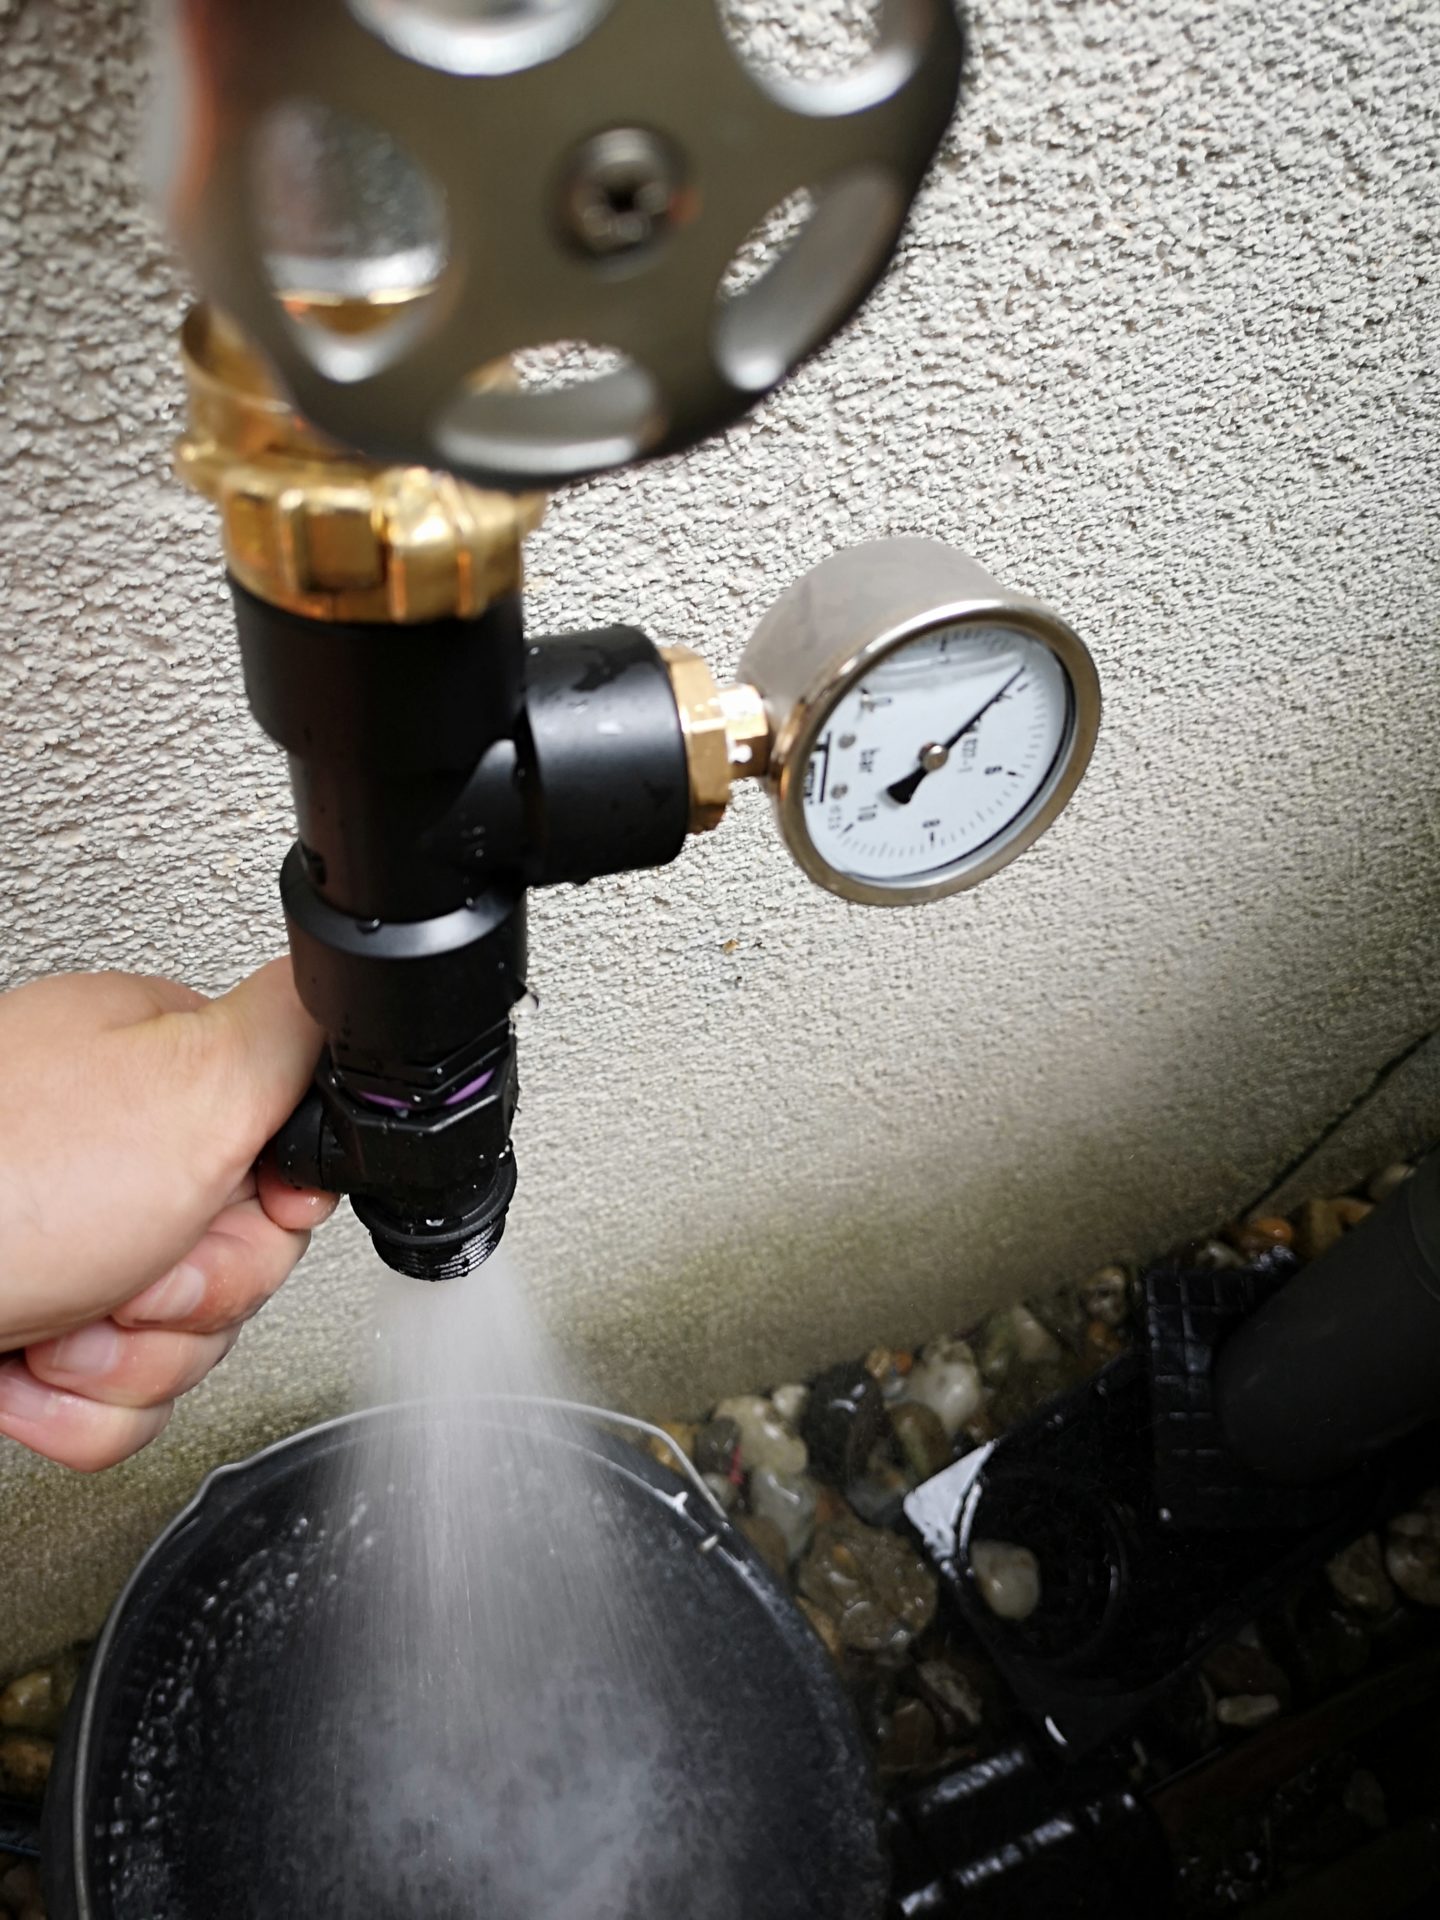
The water pressure and flow test gauge presented is a pipe connection that is open at the top and bottom and to which a water manometer is screwed. In the lower area, a valve can be opened or closed gradually using a rotary handle. This creates a certain water pressure on the pipe walls in the pipe. The test device is screwed directly onto the tap or, when measuring on a garden pump, to a connecting piece with a matching thread attached to the pump.
If the valve of the test device is completely closed, then the water pressure corresponds to the same pressure that is measured using a standard water manometer at the water source (static water pressure = pressure when the water is not flowing). So if you intend to use such a test device, you can save yourself the additional purchase of a water manometer. If the valve of the test device is completely open, then the flow rate corresponds to the amount that is usually determined in a bucket test (amount of water if there is no resistance).
Using the test device
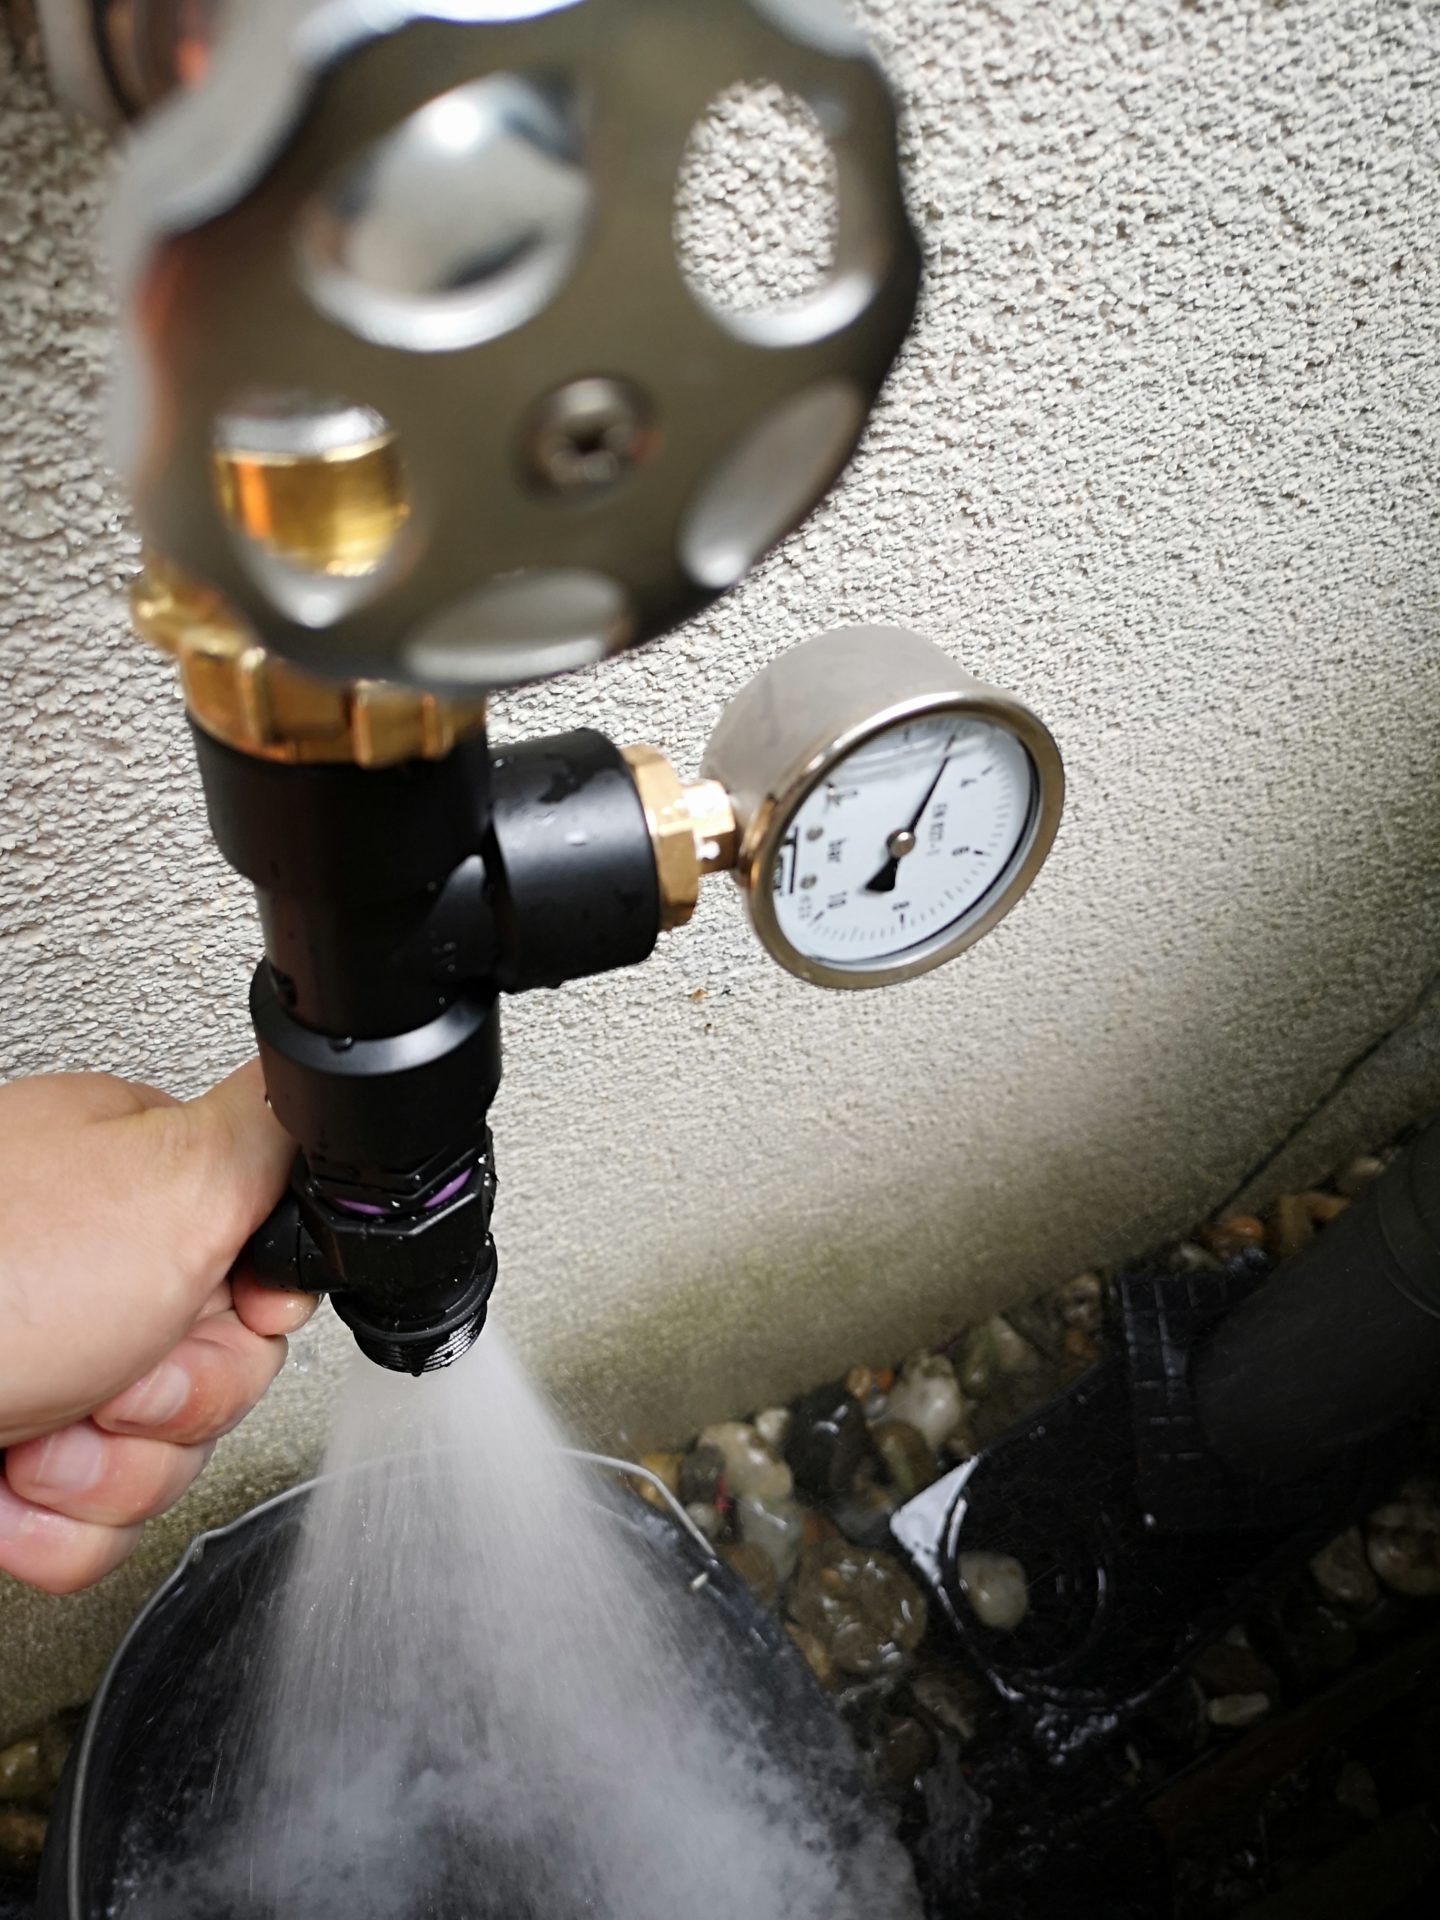
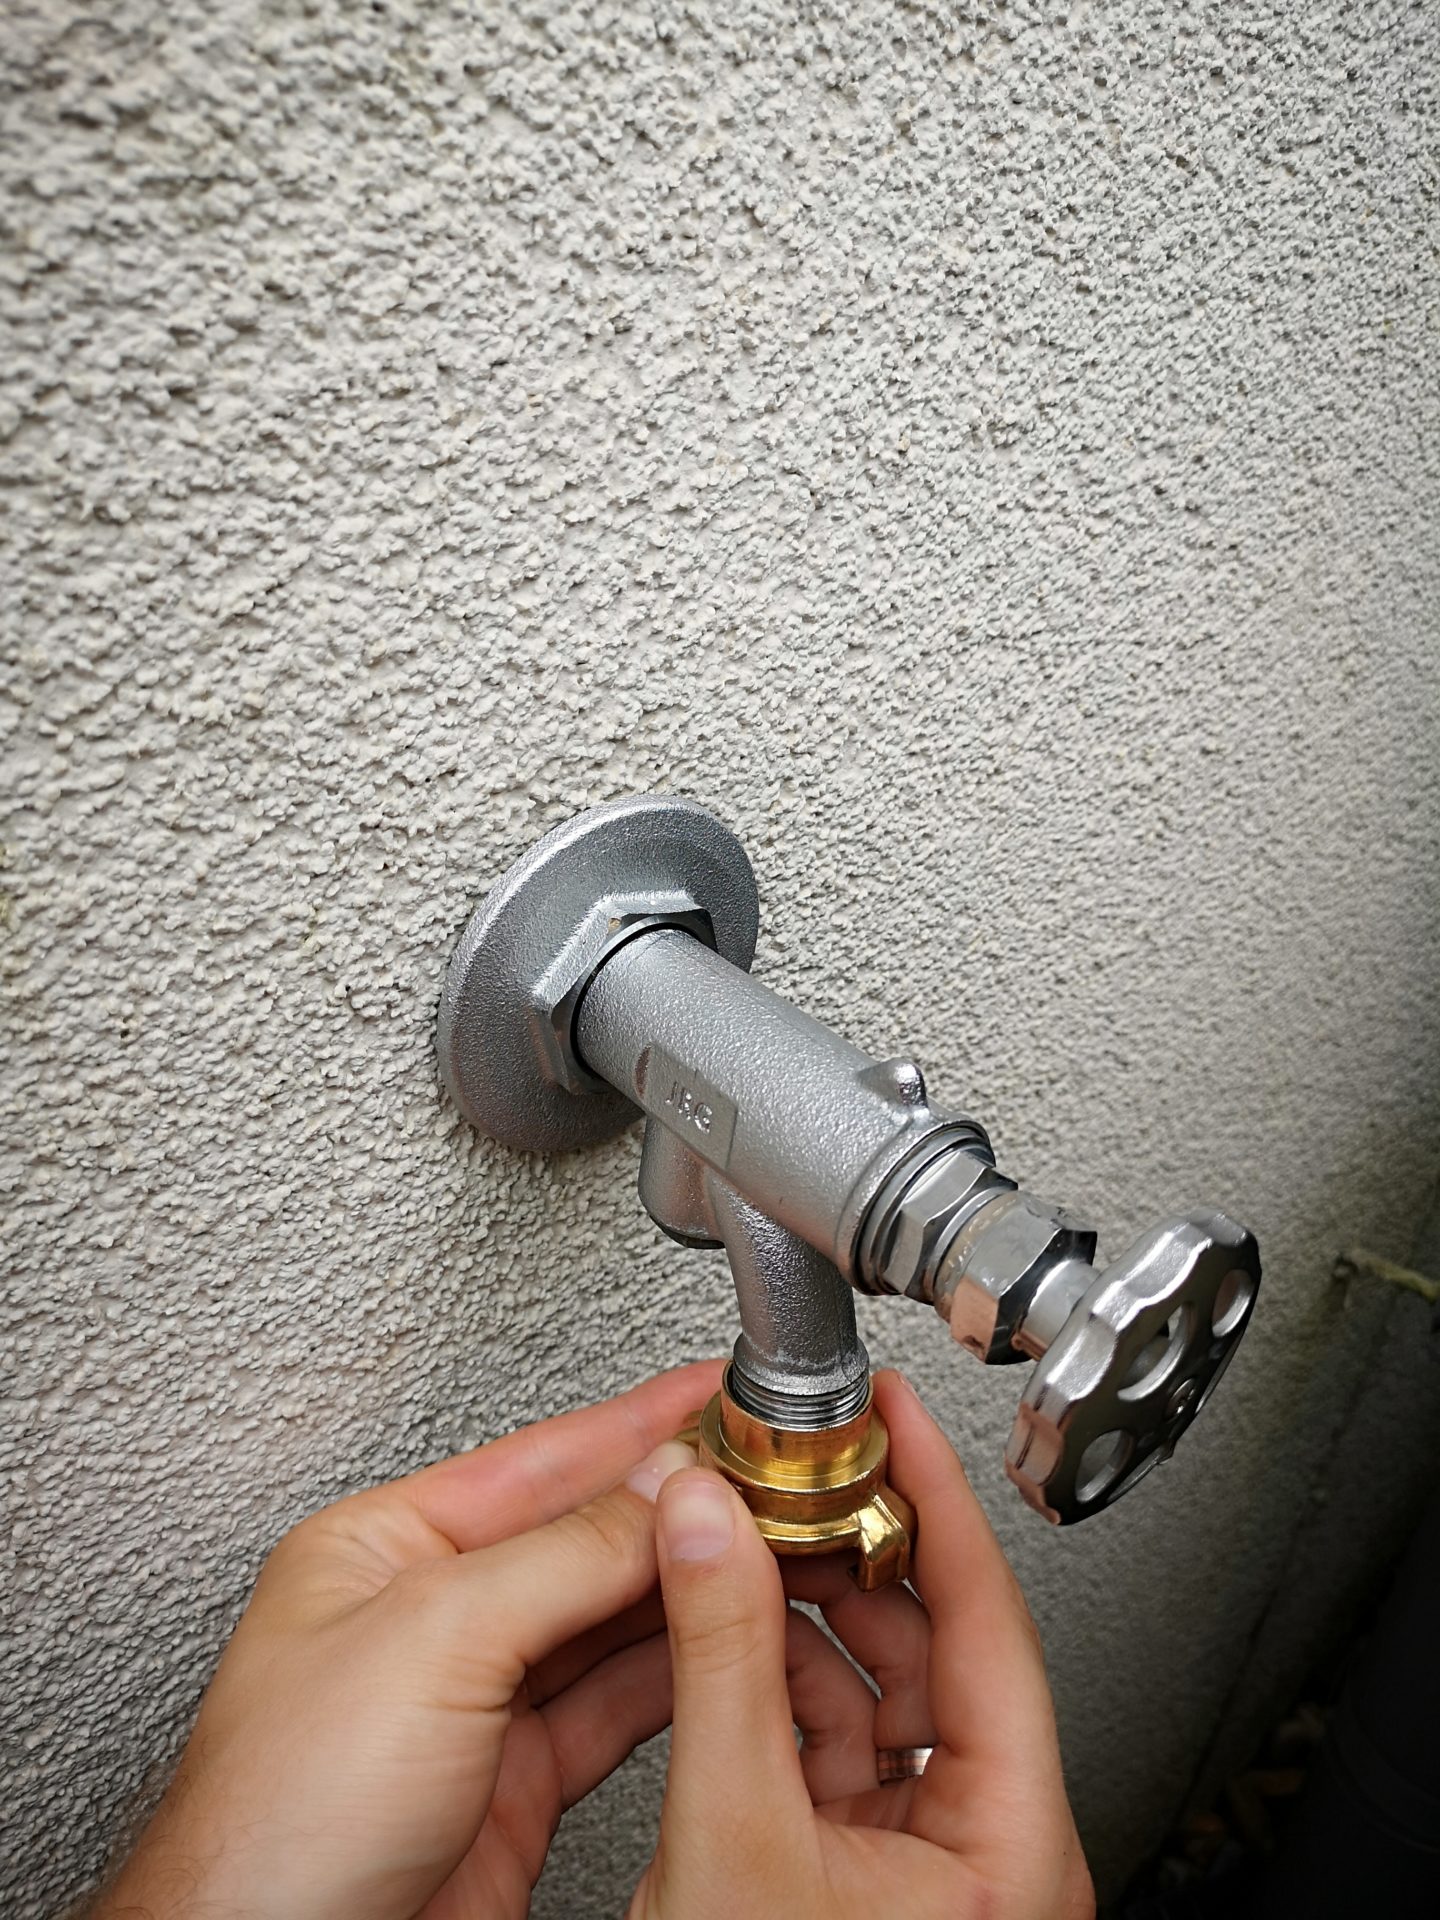
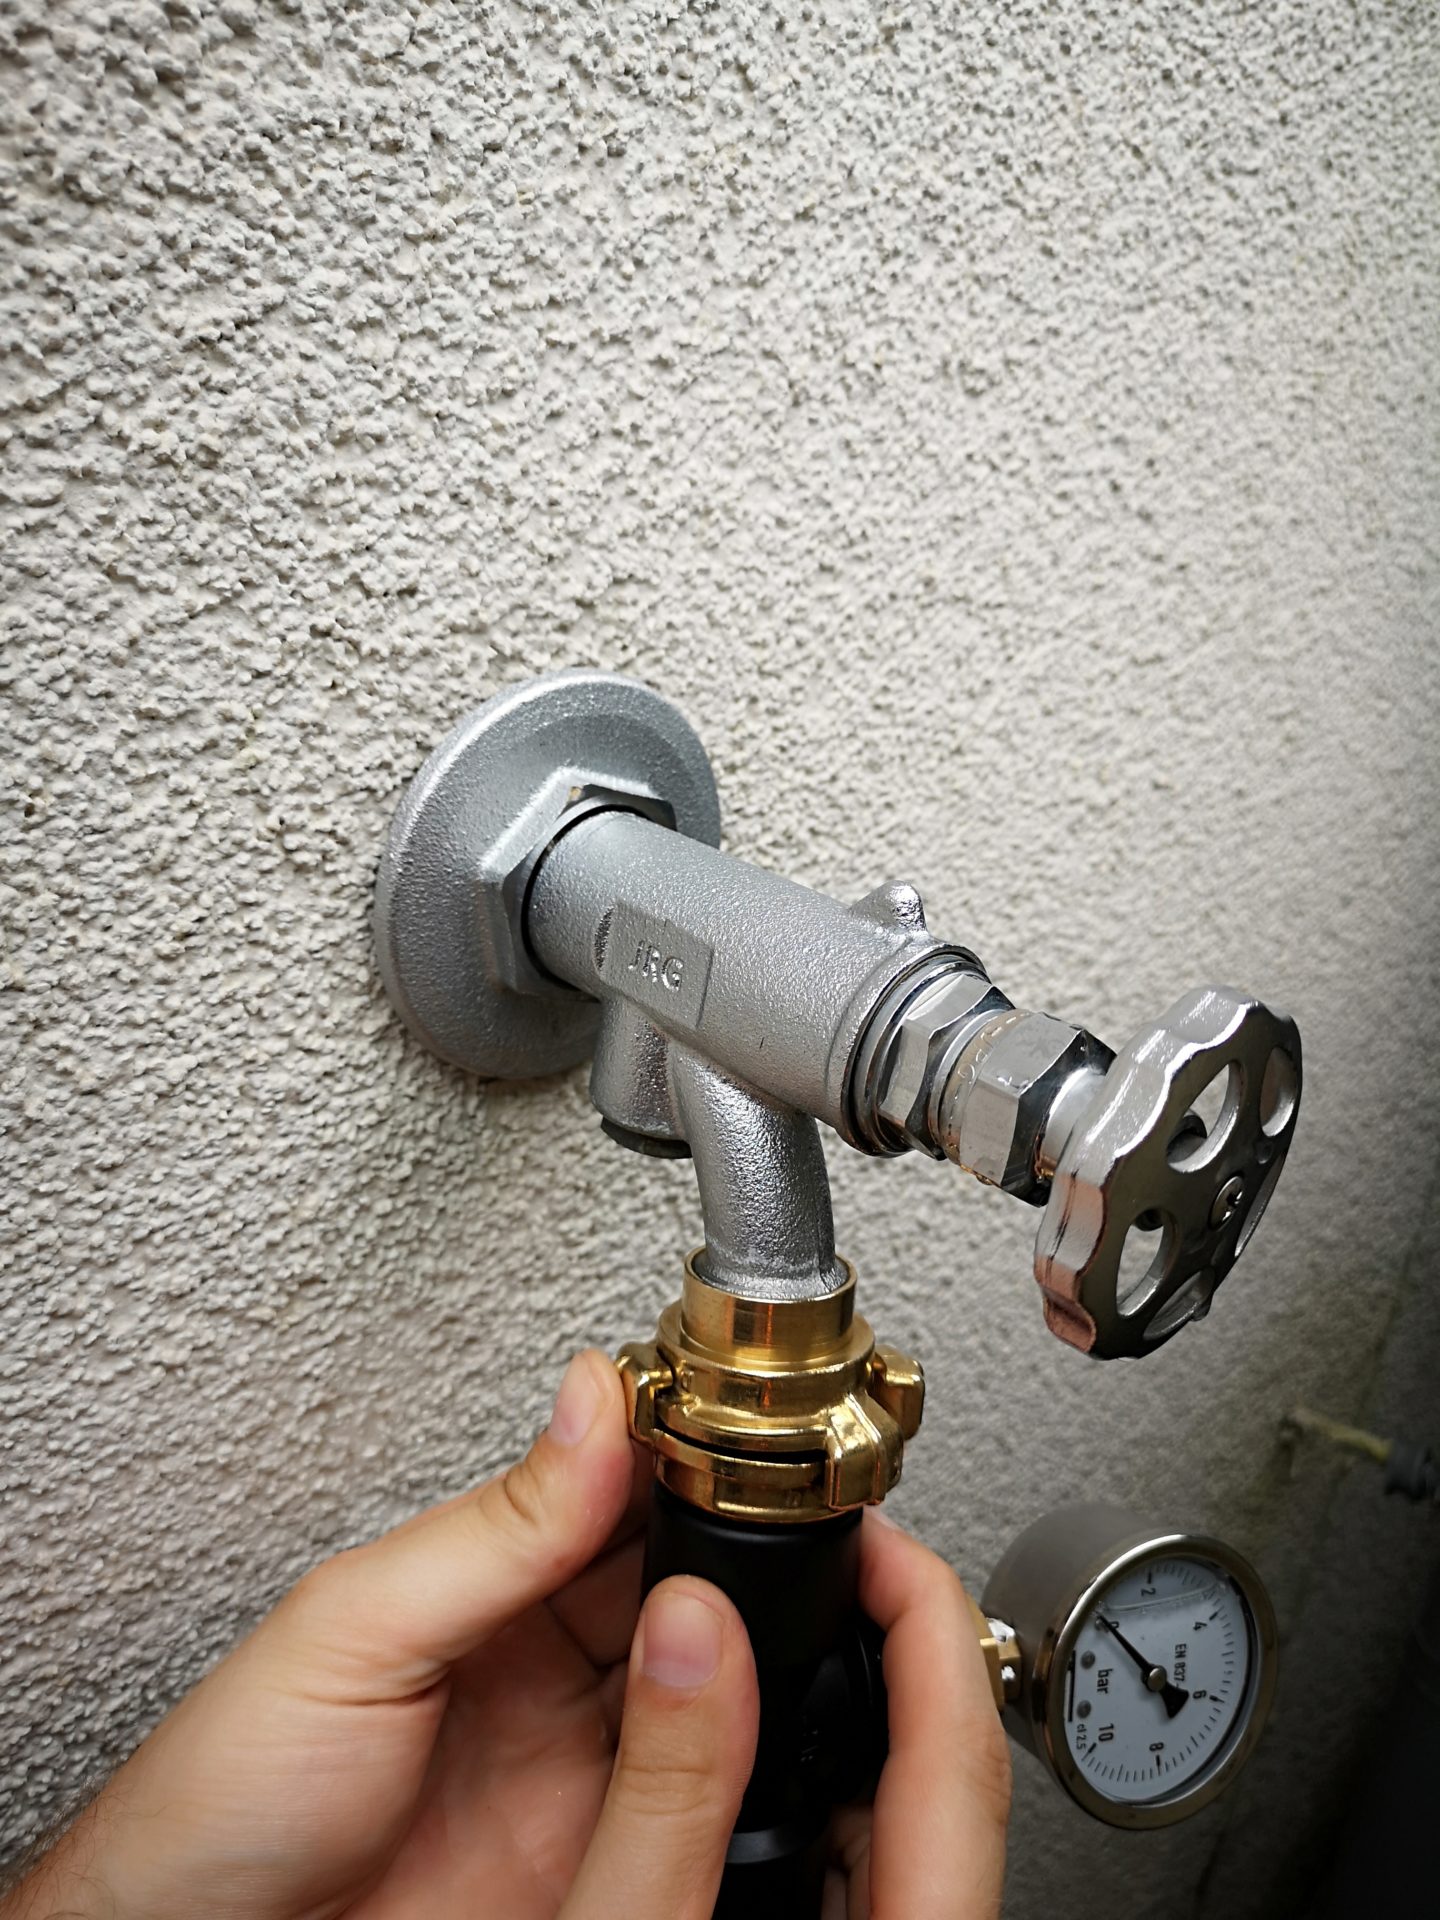
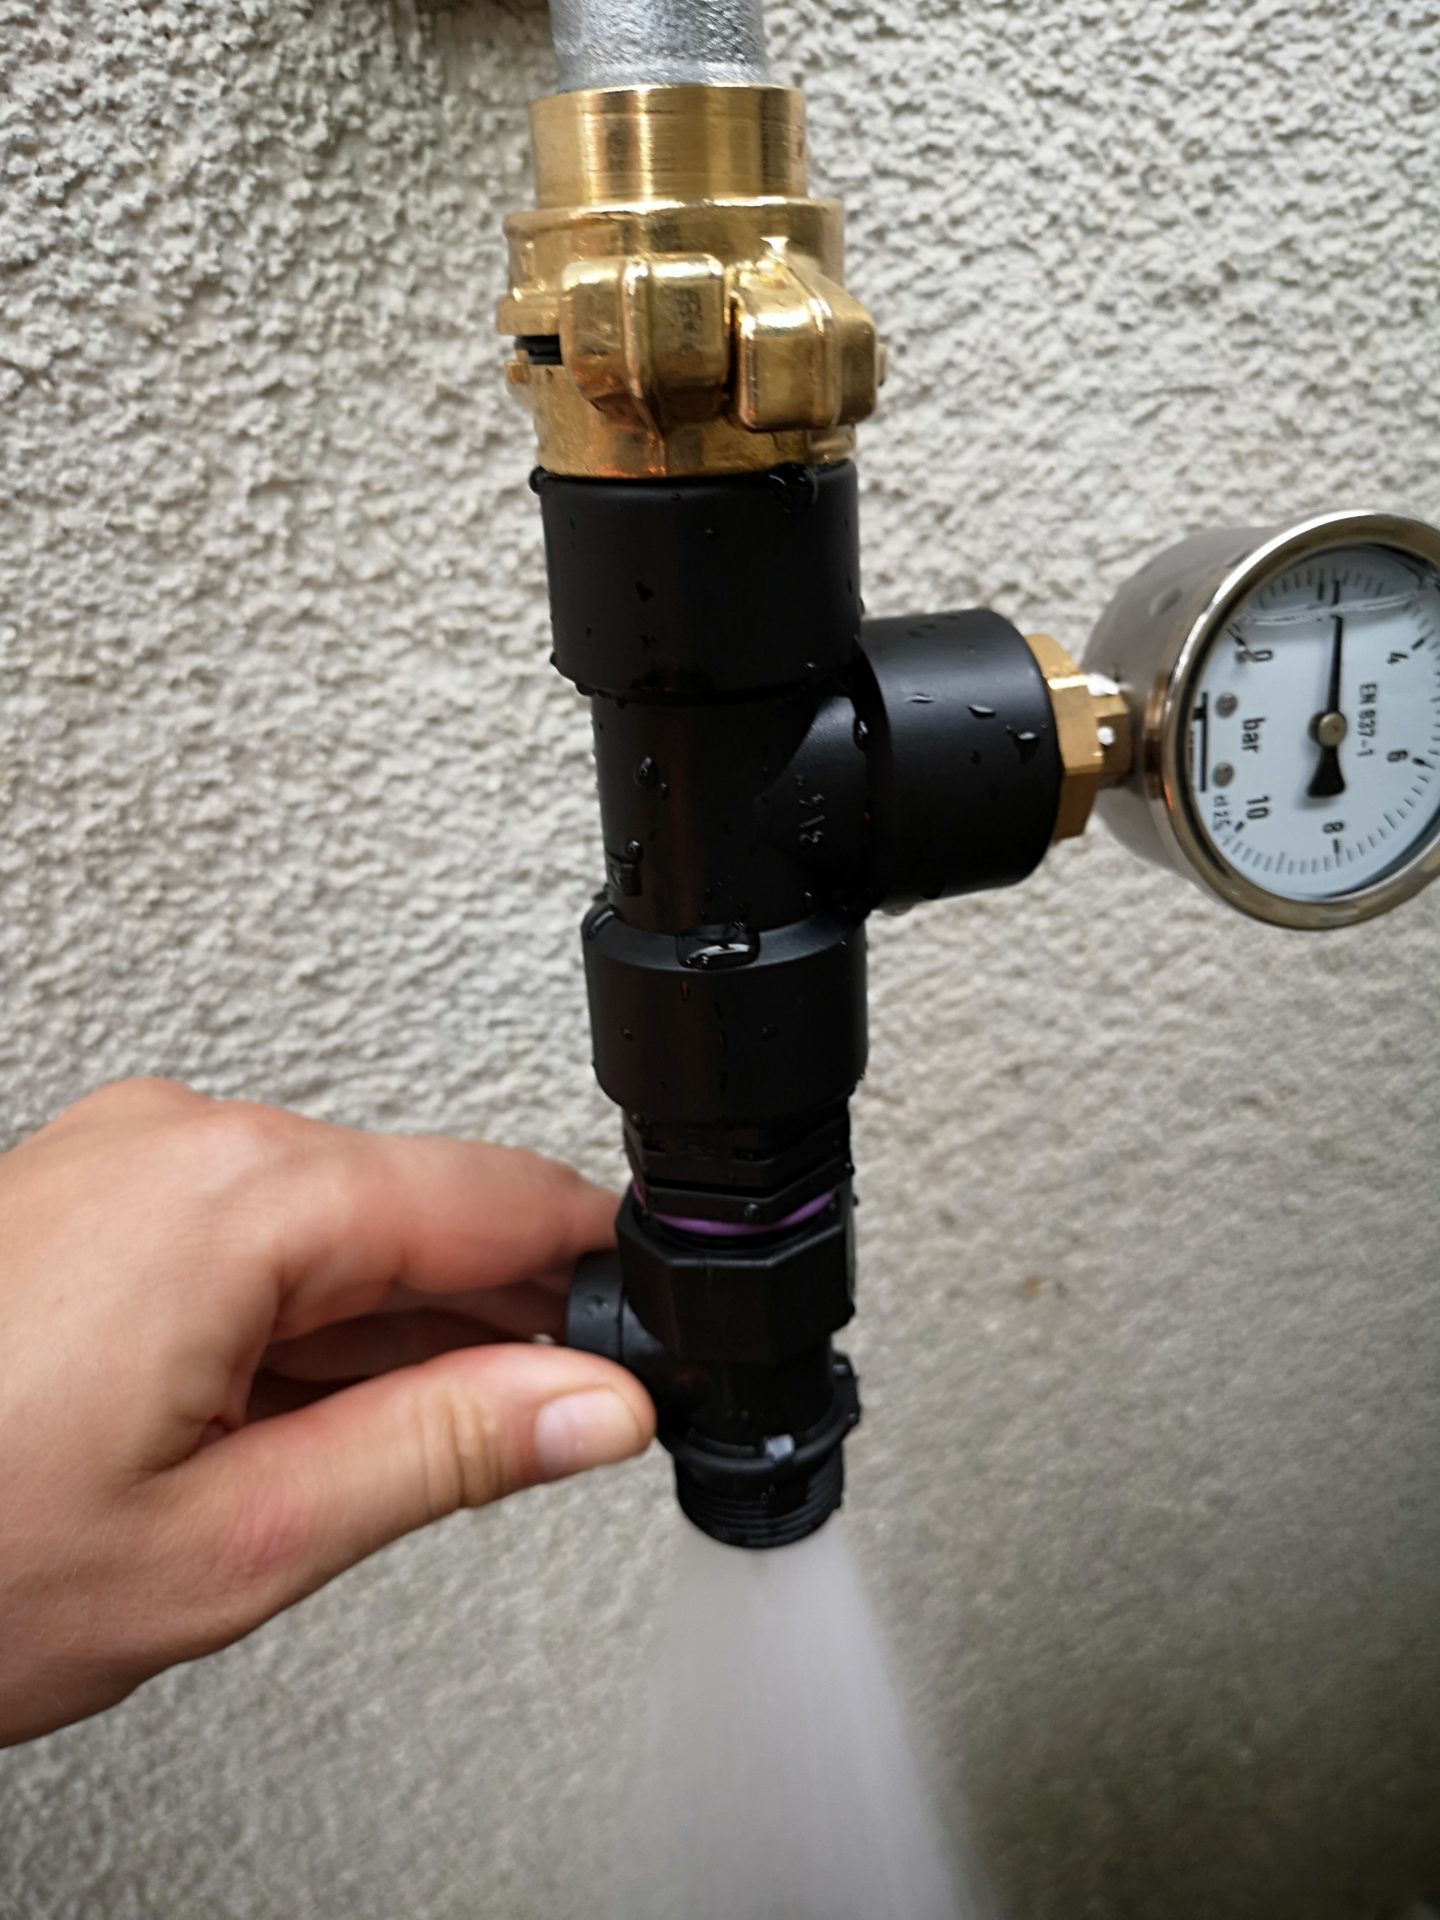
The test device shown fits a standard garden tap with a 3/4 inch external thread. If the faucet has a different thread, you have to get an adapter. First, the thread is screwed onto the tap. Then connect the test device to the coupling. Now the water tap is turned on fully. The water shoots unchecked through the test device. The test gauge reads 0 psi of water pressure. The valve is now slowly closed with the twist grip so that the pressure on the water pressure gauge increases and the amount of water flowing through decreases. You do this until the desired pressure on the water pressure and flow gauge is reached. Once this is the case, a bucket is placed under the gauge and the time it takes to fill the bucket is measured. The water flow rate per hour is calculated from the measured time, for a detailed description see the bucket test blog post.
As an alternative, a second type is also available on the market, which has an additional pressure gauge integrated so that you do not have to carry out the bucket test.
Step by step picture instructions
- Unscrew the thread
- Connect test device with thread
- Turn on tap and adjust the water pressure at the valve
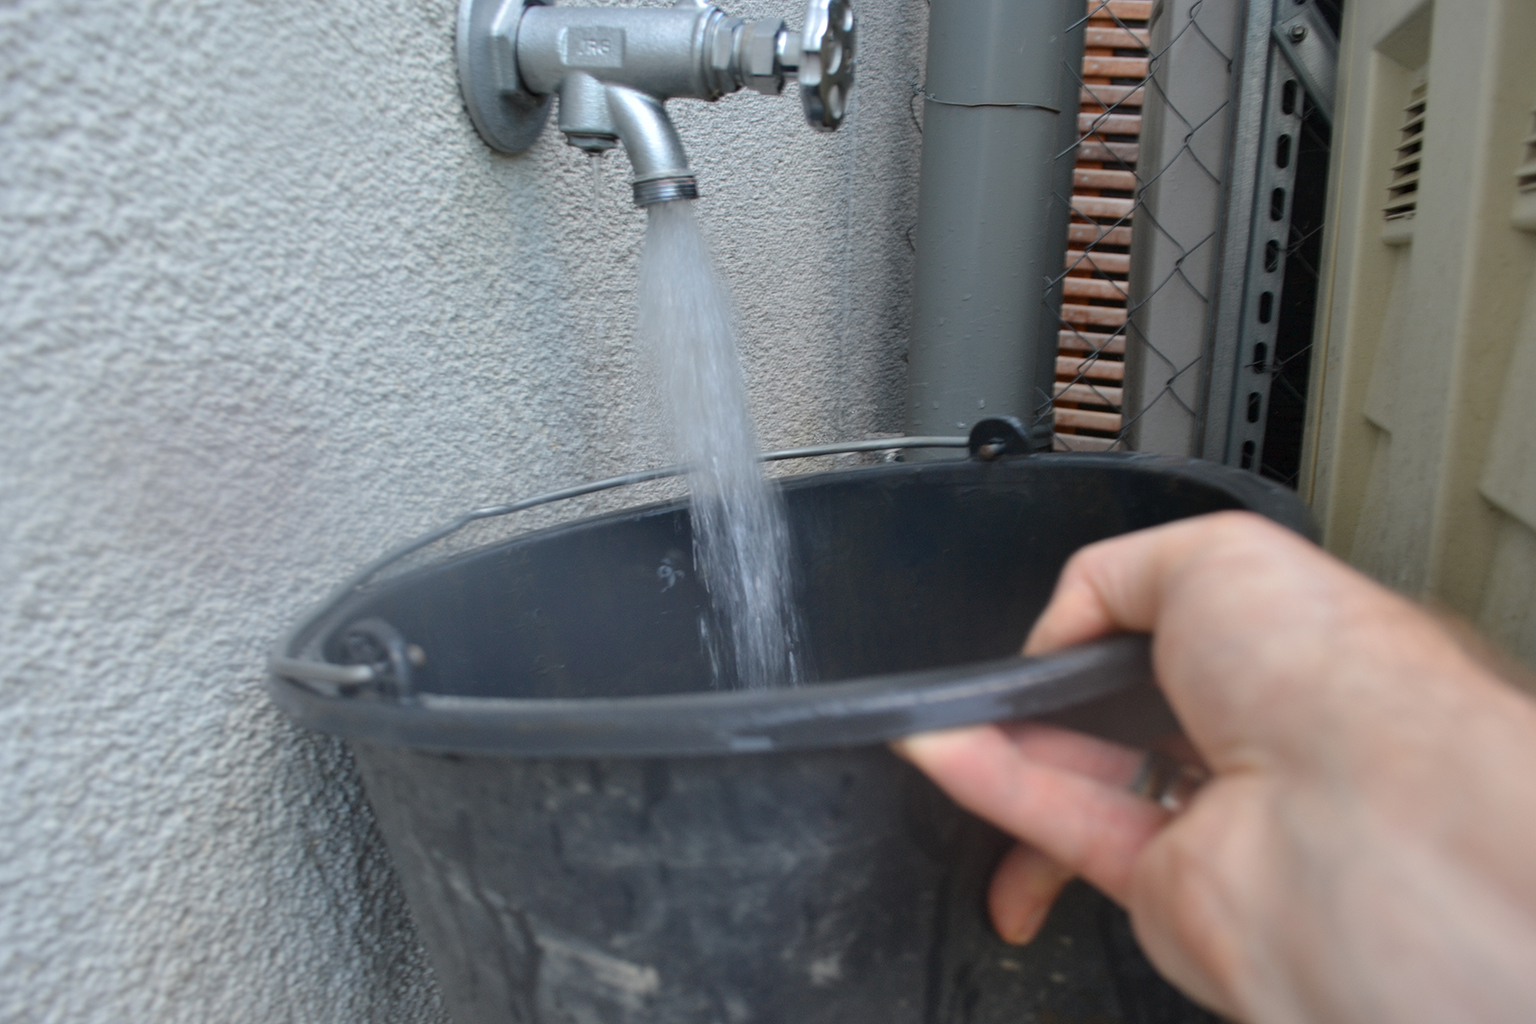
- Catch water in bucket and stop time
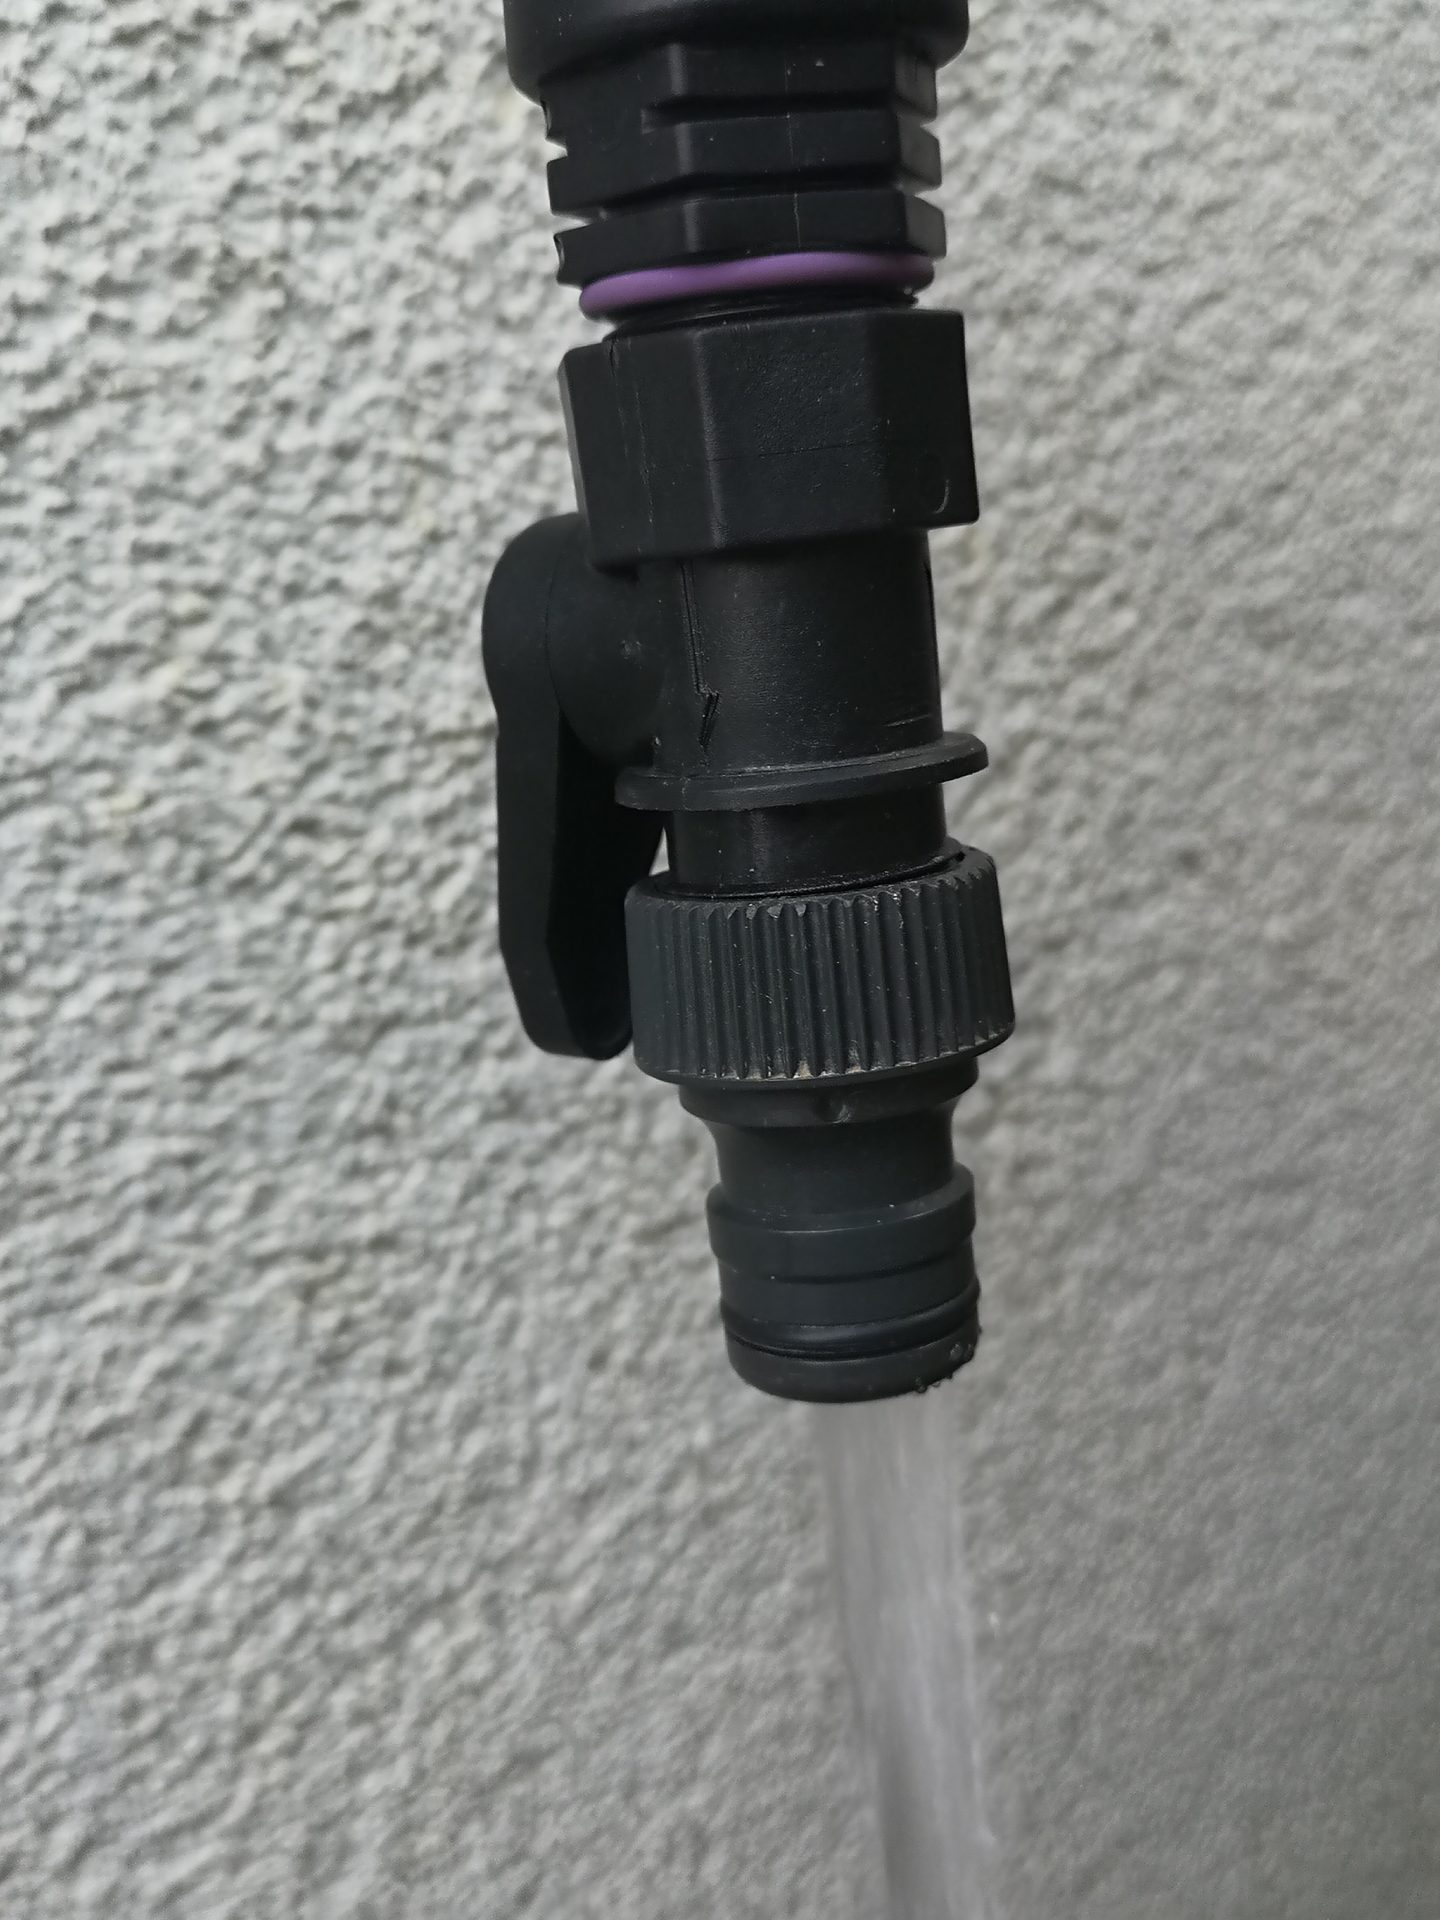
If you want to be a bit more comfortable, you can attach a 3/4 inch tap connection to the bottom of the measuring device. This concentrates the stream of water so that less misses the bucket. Otherwise the water will spray relatively wide at the measuring device outlet, so that it is best to put the bucket directly over the measuring device so that part of the water does not splash past.
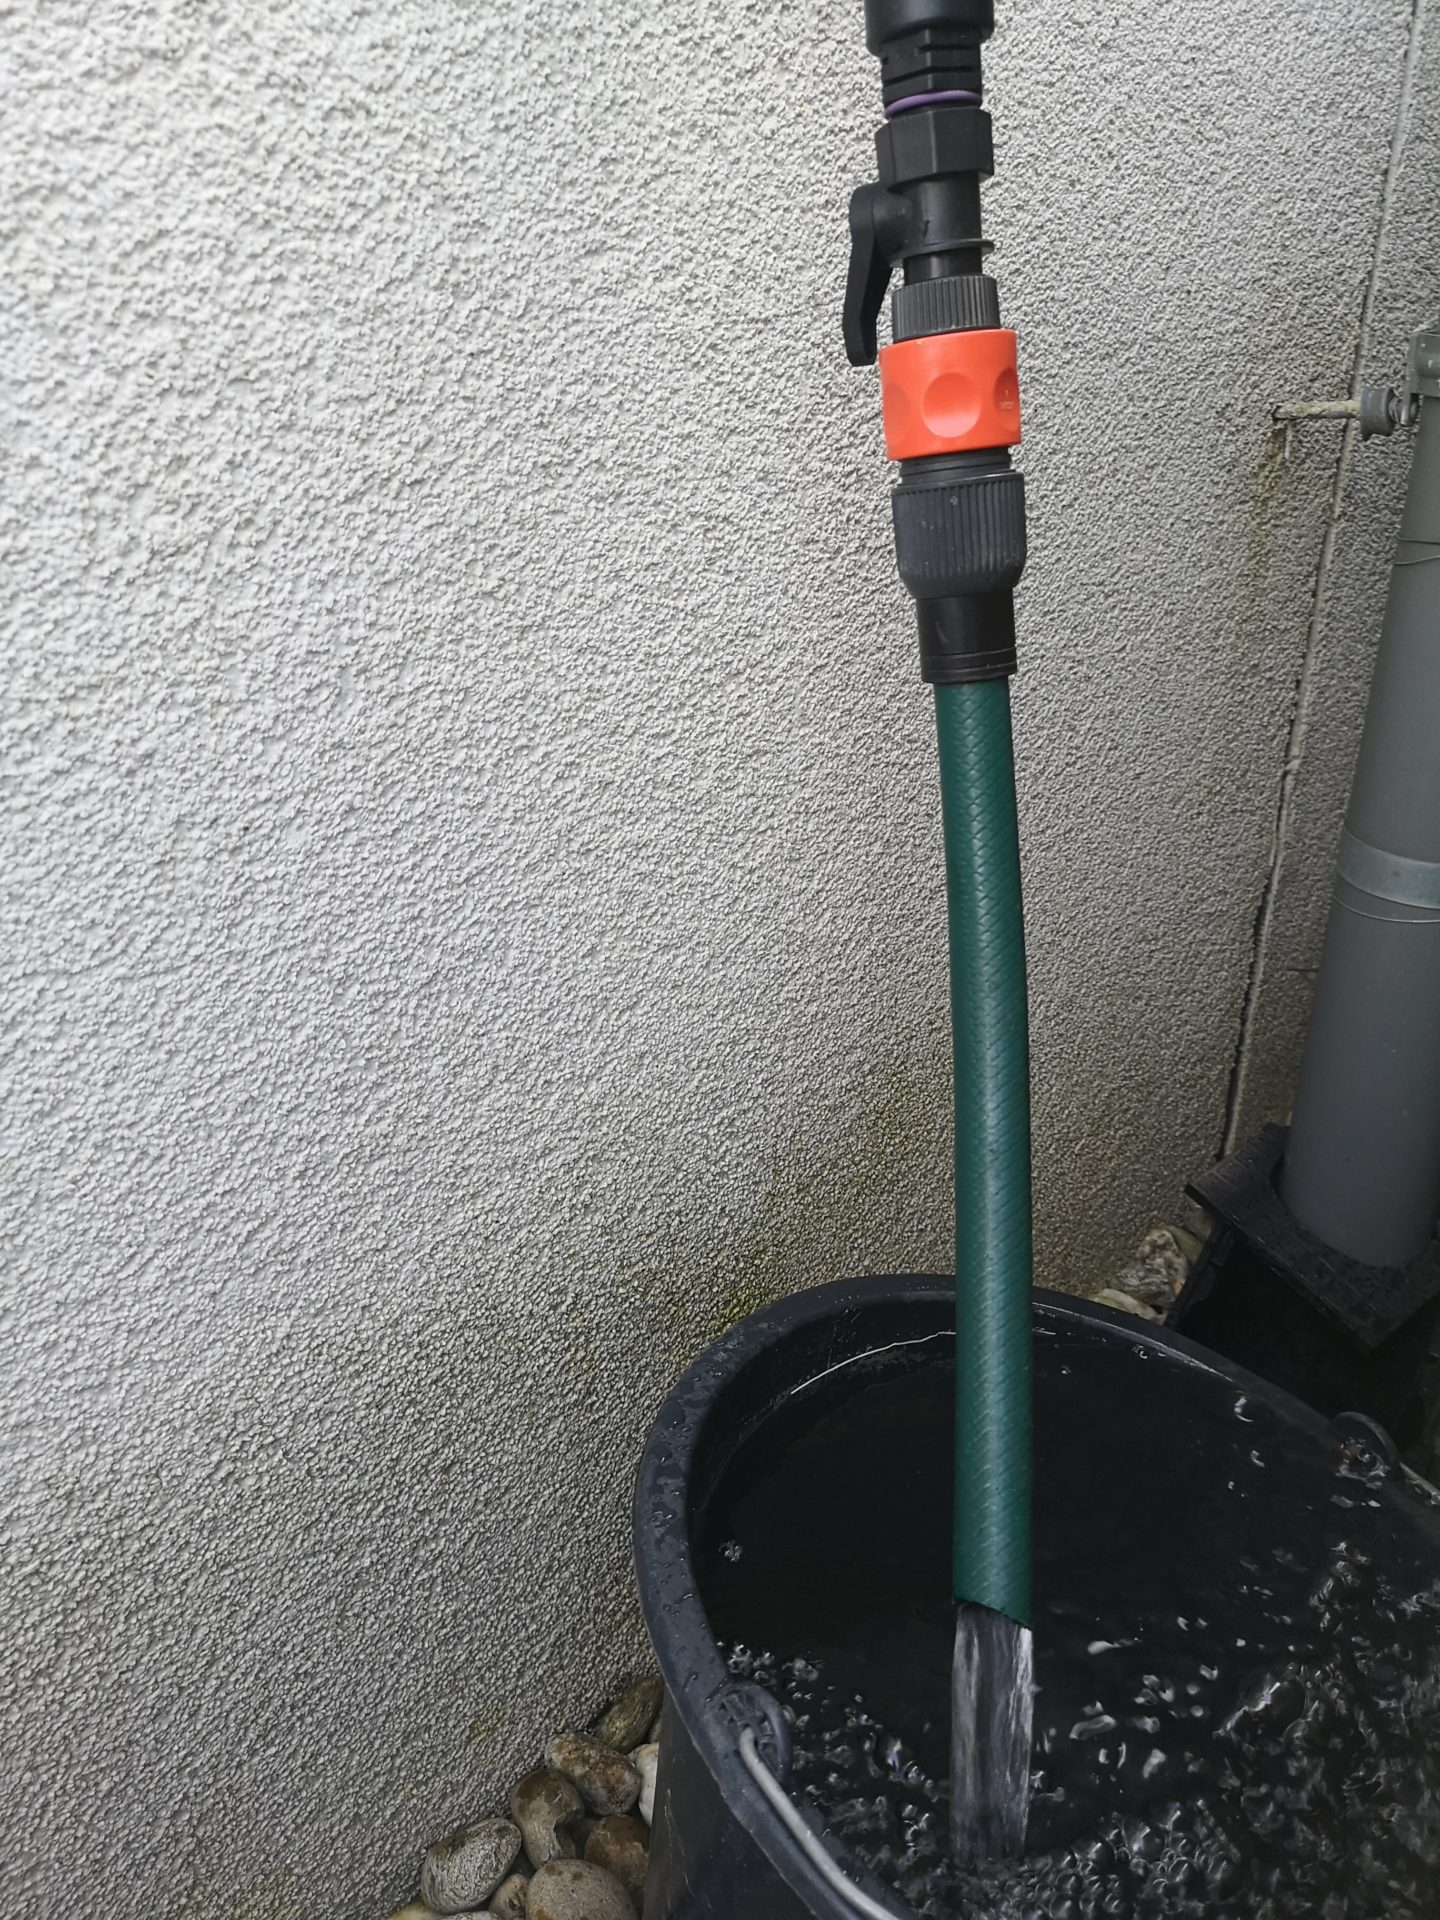
With several measurements, this is a bit uncomfortable because you have to hold the bucket, which is getting heavier and heavier, for a few seconds. And it works even better if you also attach a piece of hose and a short 3/4 inch hose to the tap connection, so that the water runs through the hose directly into the bucket. Important: Only works correctly with a 3/4 inch, not with a 1/2 inch tap connection! A 1/2 inch tap connection would lead to a bottleneck and thus falsify the test result. Following two pictures of these small practical extensions:
- Additional 3/4 inch tap piece
- An additional 3/4 inch hose piece with a short 3/4 inch hose is coupled to the tap
It is best to repeat this for different psi values to determine how the water flow rate behaves at different pressure values. So for example you measure the bucket fill time at 10 psi, 15 psi, 20 psi, 25 psi, 30 psi, 35 psi, 40 psi, 45 psi and 50 psi. If you already have a concrete water pressure for the sprinklers in mind, then you also measure with this plus the pipeline pressure loss (see explanation below). It is best to repeat each measurement a second time and if they differ, use the higher, i.e. worse, value. If there is a large deviation or if the values do not match the previously measured values, measure again! For example, in a real world example, an outside faucet with 60 psi static water pressure and 600 gallons of water available at the connection point, the measurements were as follows:
| Water pressure | Bucket fill time | Water Flow |
|---|---|---|
| 0 psi (valve fully open) | 16 seconds | 600 gallons |
| 10 psi | 17 seconds | 560 gallons |
| 15 psi | 18 seconds | 530 gallons |
| 20 psi | 19 seconds | 490 gallons |
| 25 psi | 21 seconds | 450 gallons |
| 30 psi | 23 seconds | 415 gallons |
| 35 psi | 26 seconds | 365 gallons |
| 40 psi | 29 seconds | 335 gallons |
| 45 psi | 32 seconds | 306 gallons |
| 50 psi | 34 seconds | 277 gallons |
| 60 psi (valve completely closed) | No water flow | 0 gallons |
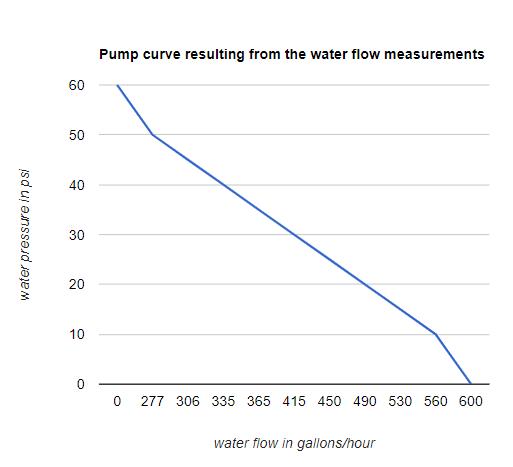
A diagram can be created from the measured values by transferring the psi values to the y-axis and the gallon values to the x-axis. As with a pump curve, the line shows the associated flow rate for each pressure value:
Consider pressure drop!
When determining the ideal pipeline water pressure for your own irrigation and the resulting flow rate, the pressure loss occurring in the pipeline must also be taken into account. The water pressure is reduced by the friction in the pipes and other factors, see the blog post “Calculating the water pressure loss in the pipeline”. If the pressure drop in the pipeline is e.g. 10 psi, then the pipeline water pressure must be set 10 psi higher than what you actually need at the sprinkler. Example: You calculate the sprinkler with a water pressure of 30 psi, then you have to measure the flow rate with a pipeline water pressure of 40 psi so that the required 30 psi actually arrives at the sprinkler. If 40 psi should arrive at the sprinkler, then you have to measure with 50 psi. Therefore, at 40 psi water pressure at the sprinkler, the rate of water flow is approximately 277 gallons per hour (read chart at 50 psi).
Ordering options
Such test devices are repeatedly offered on Amazon, Ebay and in web shops for around 30 dollars under the designations “Water flow and pressure gauge” or “Dual Water Flow and Pressure Gauge”. At Amazon you can also find the even higher-quality version of the device linked below, which includes a measurement of the amount of water.
Auto Amazon Links: No products found.
